FloorMuffler · Flooring underlayment · 2D installation video
Installation Video for FloorMuffler: Quiet Rooms First, Then the Roll
FloorMuffler sells an underlayment that nobody sees once the floor is down, so buyers had to picture what it does before they would learn to fit it. This 2D installation video spends its first 26 seconds on rooms where people drum, dance, sleep and read, then shows the whole install on one isometric patch of subfloor: 3 tools, the roll laid in overlapping strips, and wood planks on top.
Last updated
FloorMuffler · Flooring underlayment
- Client
- FloorMuffler (From The Forest, LLC)
- Product
- FloorMuffler flooring underlayment, sold in rolls
- Made for
- Homeowners fitting a new floor themselves (the YouTube description calls it an "easy DIY installation")
- Format
- 2D animated benefit and installation video
- Style
- Flat 2D characters for the benefit, isometric diagrams for the install
- Length
- 1:48
- Production timeline
- 3 to 4 weeks
- Budget
- $1,200 to $2,000
The problem: an underlayment is invisible the day the job is done
FloorMuffler's YouTube description makes 3 promises: "best in class acoustic results", a moisture barrier, and protection for "the integrity of your floor". None of them can be seen. Once the planks go down, the roll under them is gone from view, and so is the reason anyone paid for it.
A plain how-to would teach the steps to a buyer who has not yet decided the product matters. The video had to do 2 jobs in under 2 minutes: make the benefit visible in the rooms people live in, then make the install look short enough to do without a contractor.
How the video moves from noisy rooms to a finished floor
Apart from the floorMuffler logo and its closing tagline, "it's what's underneath that counts", the video carries no readable on-screen text: every step is told in pictures. Select a time to play that scene above.
| Time | On screen | What it does |
|---|---|---|
| Night scenes in dark tones: a man asleep in bed, then a man in an armchair facing a TV. At 0:06 a woman reads on a teal sofa with her dog and a glass of wine. | Opens on the people who live with the noise, not on the product. | |
| A 4-way split screen in bright colors: a drummer, 2 dancers above a floor marked with a down arrow, a woman doing yoga, the woman reading. By 0:09 her wine glass lies spilled on the floor. | Shows where the sound starts, that it travels down, and what it knocks over. | |
| The split turns dark: 3 dancers move under party lights while a man sits at the TV and another sits up awake in bed. | Puts the noise and the people below it in the same frame. | |
| A green roll unrolls across the screen and leaves the "floorMuffler" logo. | Names the product only once the problem is clear, and shows its form: a roll. | |
| 3 round badges appear one by one: a utility knife, a tape tool and a roll of underlayment. | Gives the full kit before the first step. | |
| An isometric square of yellow subfloor: the roll is laid in one strip with a pink edge, a second strip is laid over that edge, a round close-up at 1:08 zooms in on the seam, and a dashed line at 1:14 marks where the roll is cut. | Makes laying the roll look like 2 passes on one patch of floor. | |
| Wood planks drop onto the green underlayment one by one until the whole square is covered. | Shows the end state: the product disappears under the finished floor. | |
| The yoga woman holds a tree pose in a calm room, then the "floorMuffler" end logo with the tagline "it's what's underneath that counts". | Returns to the benefit and closes on the brand. |
Storyboard: the frames that carry the FloorMuffler installation video
Key frames from the finished video, in order. Select a time to play that moment above.
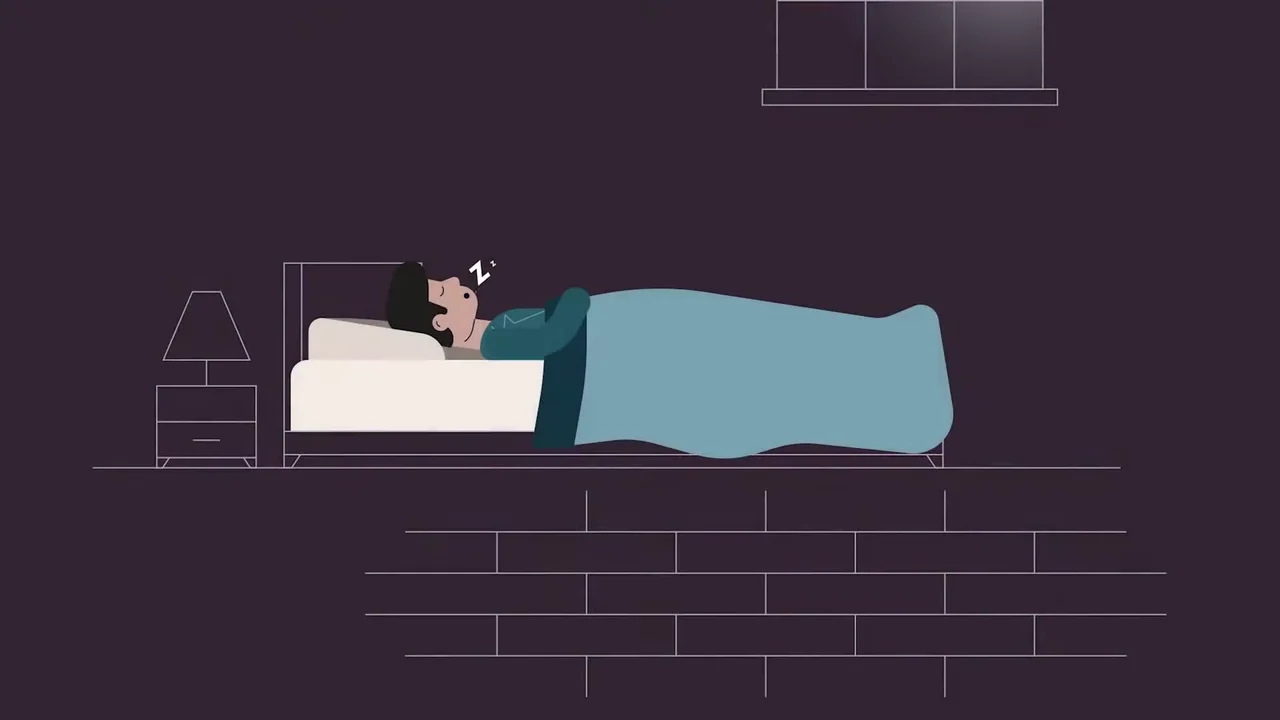
The video opens on the person below the noise, asleep, not on the product. 
4 rooms at once show where the noise starts and that it travels down. 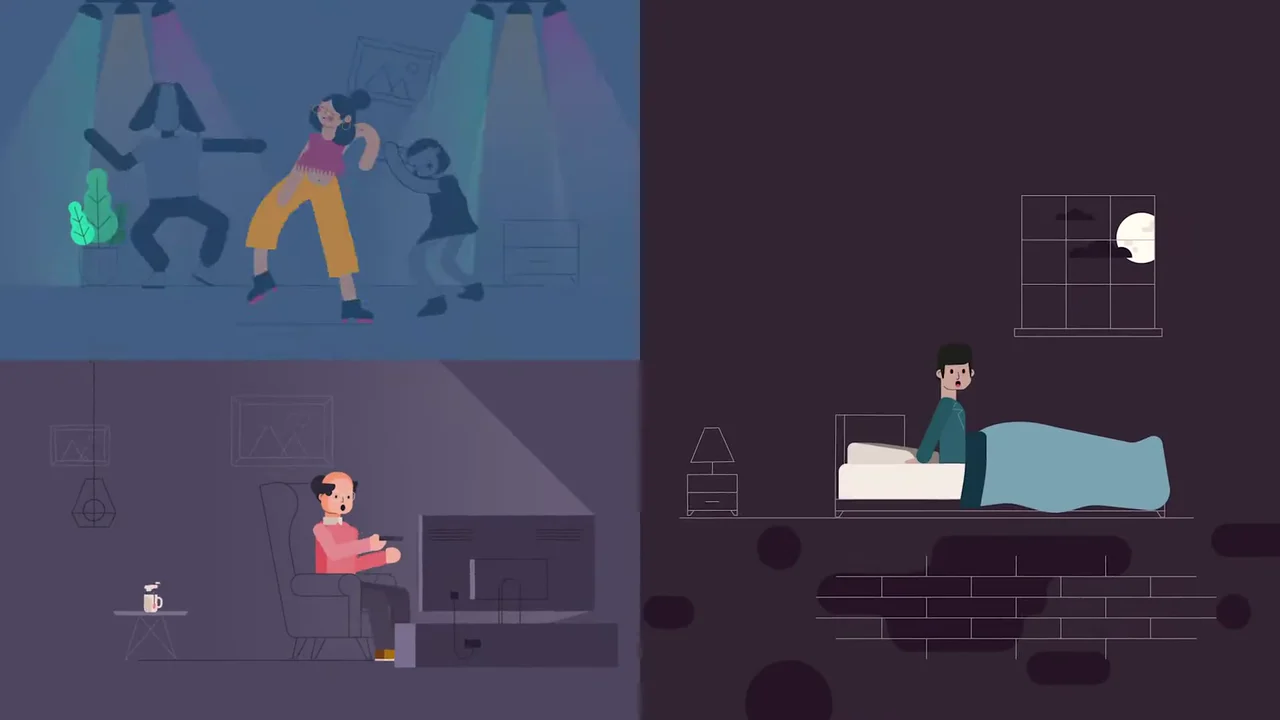
The same split in dark tones puts the dancers and the man kept awake in one frame. 
The product arrives as a roll that unrolls into its own logo. 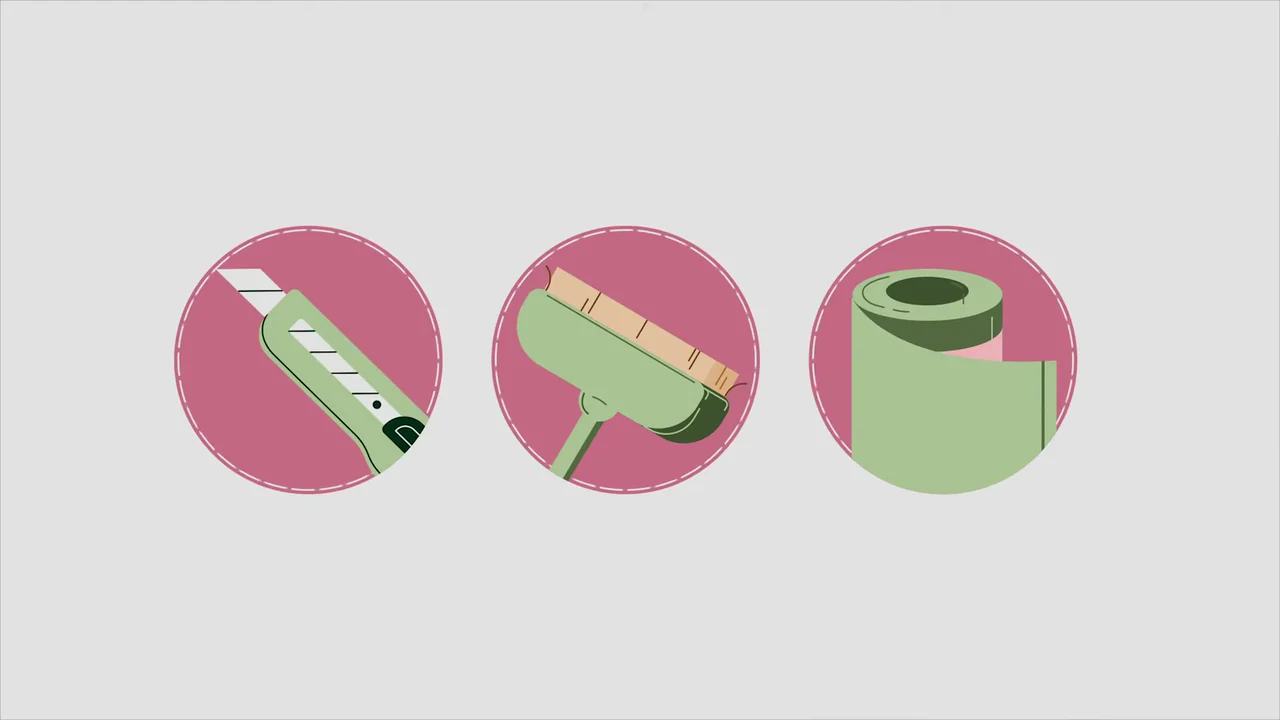
The full kit is on screen before the first step. 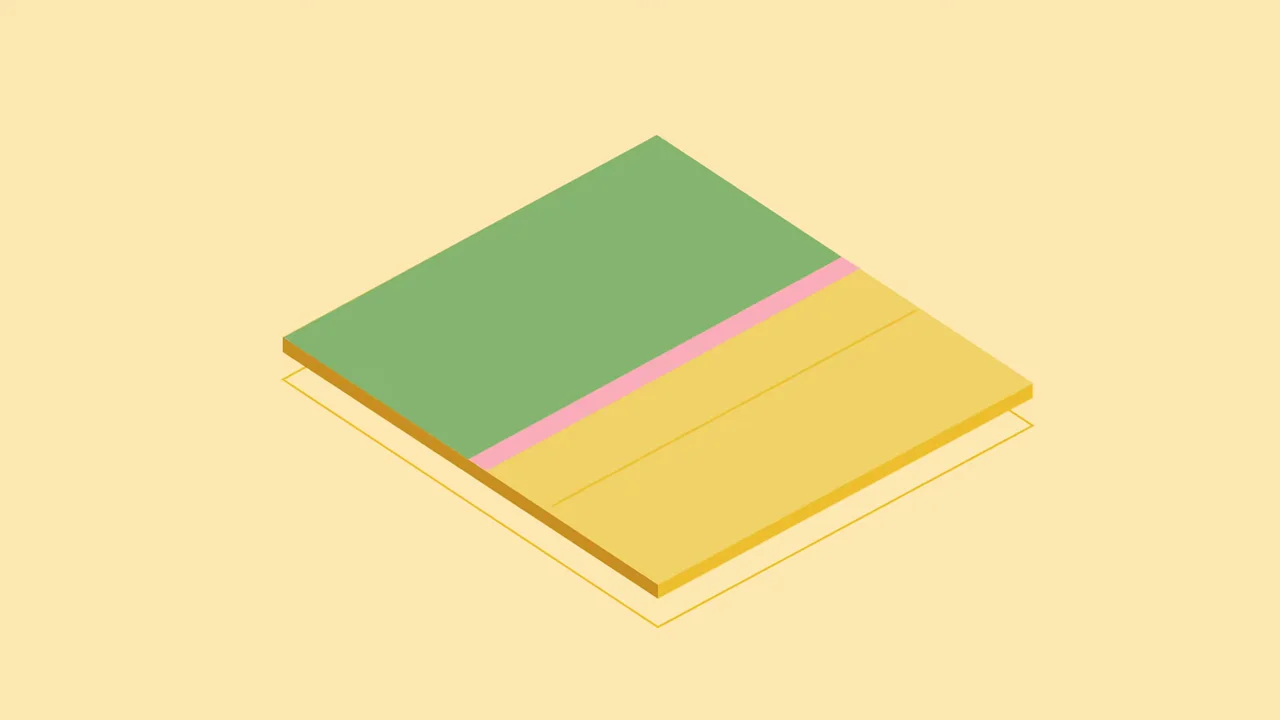
The first strip is down, with the pink edge the next strip will cover. 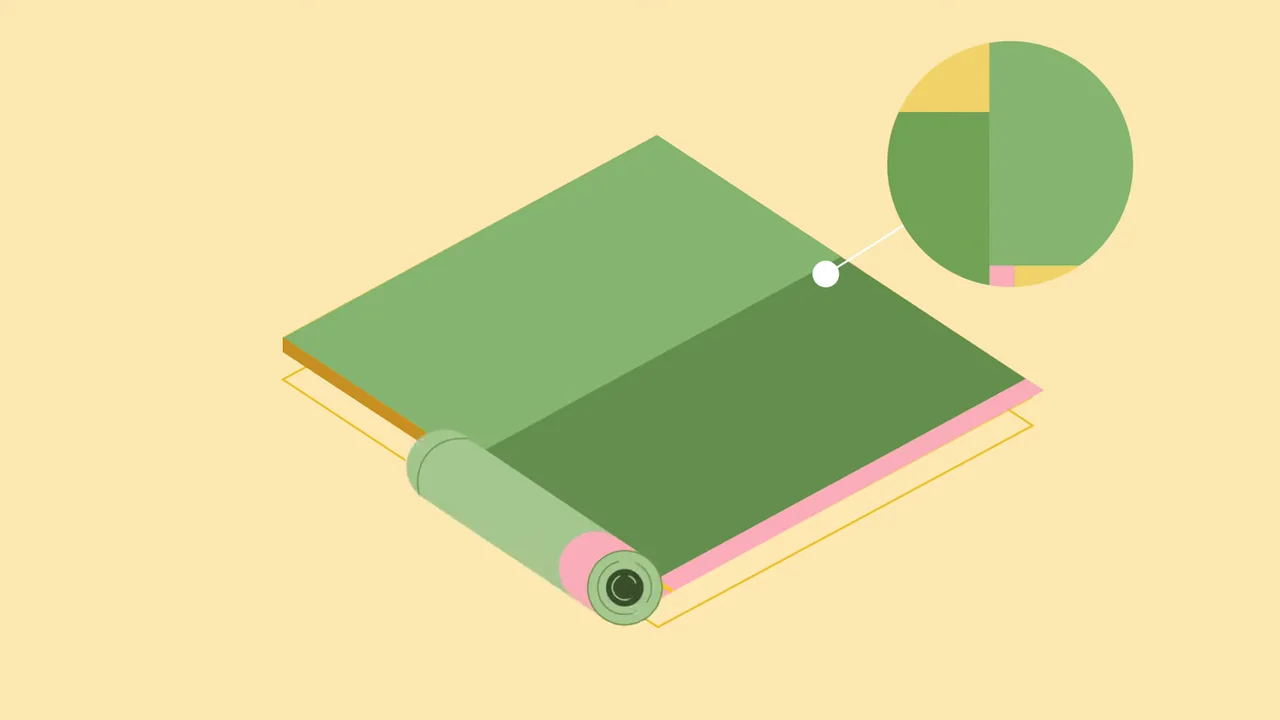
A round close-up shows the seam where the 2 strips meet. 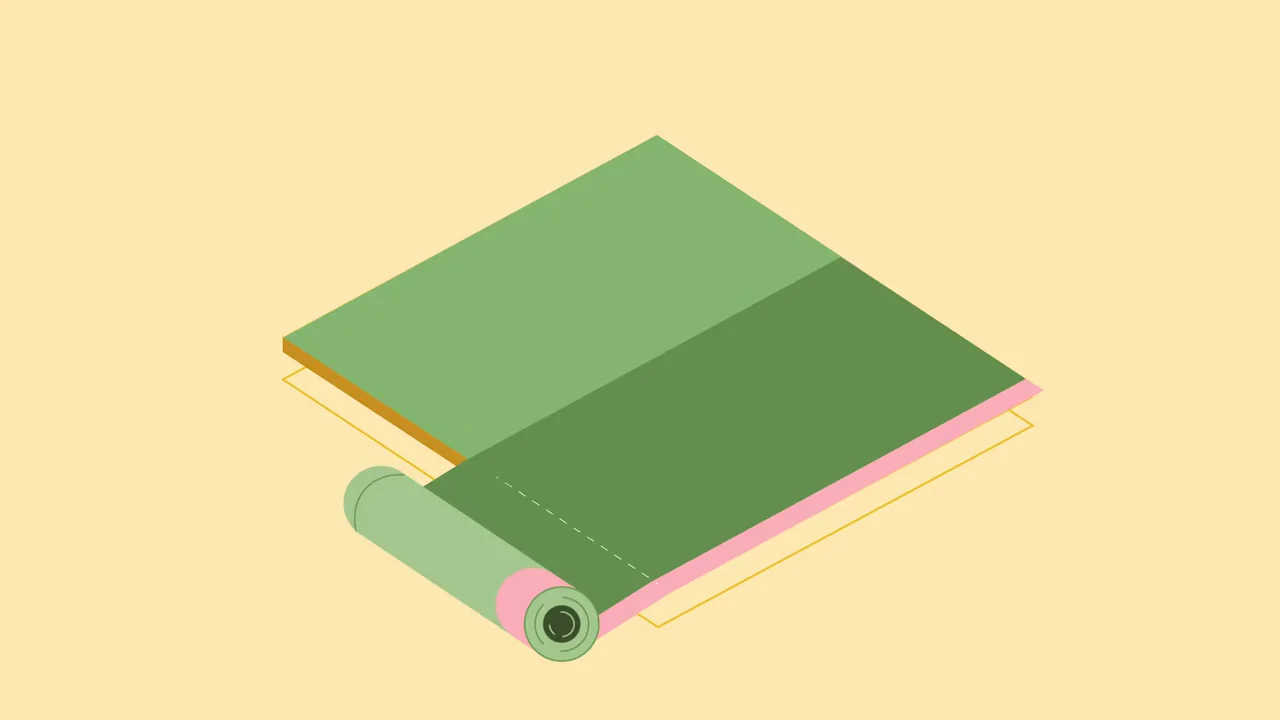
A dashed line marks where the roll is cut at the edge of the floor. 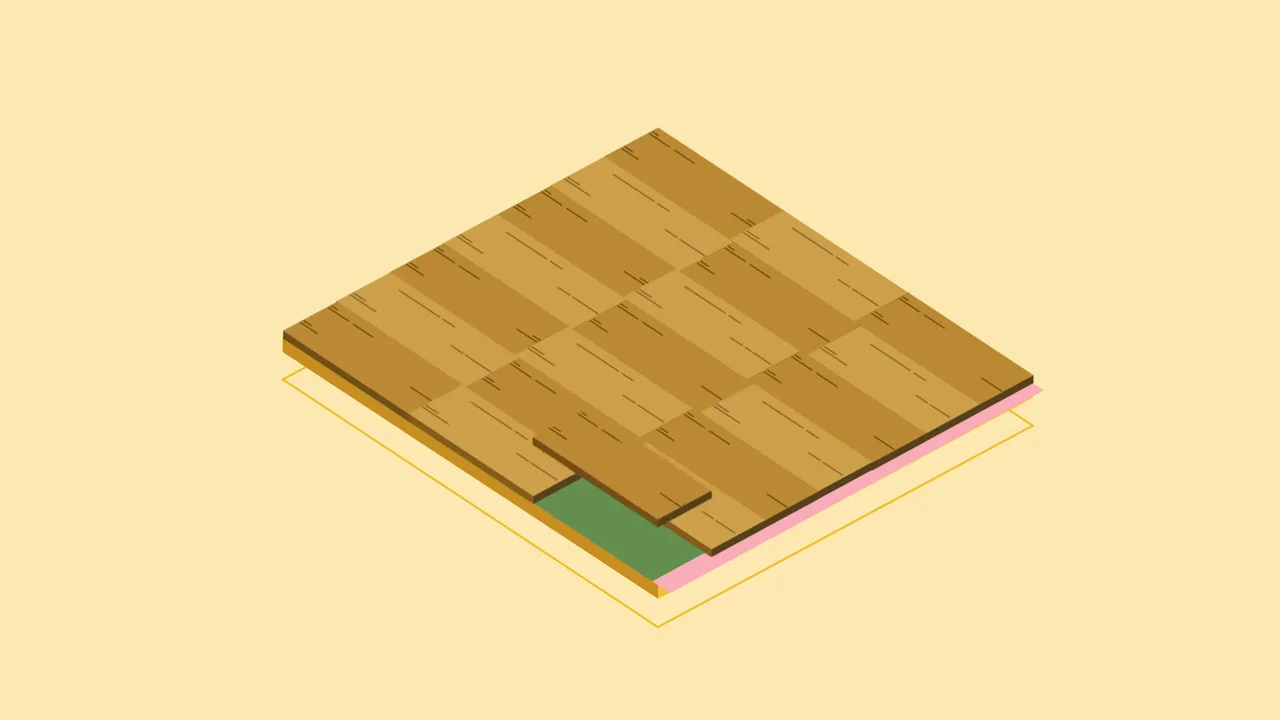
The finished floor hides the product, which is why the video showed it first. 
The tagline names the point of the whole video: the layer nobody sees.
4 decisions behind the FloorMuffler installation video
Decision 1
Sell the quiet before the roll
The first 26 seconds show only rooms and people. The product does not appear until the roll unrolls into the logo at 0:26.
Copy it: If your product is hidden after install, open on the room or the user it changes, then reveal the product.
Decision 2
Show the same rooms twice
The bright 4-way split at 0:07 comes back in dark tones at 0:14, with 3 dancers under party lights while a man sits up awake in bed below.
Copy it: Put the same scene on screen with and without the problem, so the viewer sees the difference without being told.
Decision 3
List the kit before step 1
From 0:33 a utility knife, a tape tool and the roll appear as 3 badges before anything is laid.
Copy it: Show every tool and part your buyer needs before the first step, so nobody stops halfway to look for one.
Decision 4
Lock the camera on one patch of floor
From 0:45 to 1:35 the install happens on a single isometric square seen from one fixed angle: first strip, second strip over its pink edge, a close-up of the seam, then planks.
Copy it: For a step-by-step product, keep one object and one angle, so each step reads as a change to the same thing.
From 4 home scenes to an isometric install guide
- Room scenes. 4 home rooms were designed (a drummer, dancers, yoga, reading with a dog), each in a bright day palette and a dark night palette.
- Character animation. Drumming, dancing, yoga poses and the night scenes were animated in flat 2D.
- Roll reveal. The underlayment roll was turned into the logo reveal, so the product's shape is the first thing the viewer learns about it.
- Tool badges. The knife, tape tool and roll were drawn as 3 matching badges for the kit list.
- Isometric install. The subfloor, the 2 overlapping strips and the planks were animated in install order on one square.
- Voiceover, sound and finish. Voiceover recording, sound design, editing, color grading and final rendering closed the project.
Scope of work:
Production took 3 to 4 weeks on a budget of $1,200 to $2,000. See the 2D video production service for how a project like this is scoped.
Questions about the FloorMuffler installation video
Why does the FloorMuffler installation video open on people, not on the floor?
An underlayment is hidden once the floor is laid, so the video shows its benefit first: from 0:00 to 0:26 a drummer and dancers share the screen with people sleeping, watching TV and reading. The roll only appears at 0:26.
What tools does the video show for the install?
3, as badges from 0:33: a utility knife, a tape tool and the roll of underlayment itself. They appear before the first strip is laid at 0:45.
How does the video show the underlayment strips being laid?
On one isometric square of subfloor from 0:45: the roll is laid in a first strip, then a second strip is laid over its pink edge, and a round close-up at 1:08 zooms in on the seam. Wood planks cover it from 1:18.
Why is there almost no on-screen text in the FloorMuffler video?
Apart from the floorMuffler logo at 0:30 and the tagline "it's what's underneath that counts" at 1:44, every step is shown as a picture: tools as badges, steps on one fixed square of floor. A viewer can follow the order of the install without reading.
Does the video show the moisture barrier?
The YouTube description names the moisture barrier, but no frame labels it. What the video does show is the second strip laid over the first strip's pink edge from about 1:04. If a hidden claim like this decides the sale, give it a label on screen.
How long did the FloorMuffler video take to make, and what did it cost?
Production took 3 to 4 weeks on a budget of $1,200 to $2,000, covering 2D character animation, scene design, motion graphics, voiceover recording, sound design, editing and color grading.
What Advids clients say
"We recently worked with ADVIDS on a 3D general capabilities video for our specialty construction company. The process was very smooth and we are very happy with the final product!"Christine Geness, CEO at Cell-Logic


Does your product disappear once the job is done?
Talk to Advids