Randek · Timber wall production lines · 3D walkthrough animation video
Walkthrough Animation of Randek's ZeroLabor Line: Stud to Storage
Randek needed prefab builders to picture a tailored AutoWall machine line with ZeroLabor robotics before a single station is installed. This walkthrough animation takes them along the line in 3D, from timber feeding the stud workstation to a finished wall element sliding into storage.
Last updated
Randek · ZeroLabor Robotic System
- Client
- Randek
- Product
- AutoWall machine line with ZeroLabor Robotic Systems, for insulated timber wall elements
- Made for
- Prefab builders planning automated wall element production
- Format
- 3D factory walkthrough animation video
- Built from
- Randek CAD files
- Length
- 3:46
- Production timeline
- 3 to 4 weeks
- Budget
- $1,200 to $2,000
The problem: a tailored machine line can't be toured before it's built
Randek's YouTube description calls this a "Tailored Randek AutoWall machine line" with ZeroLabor robotics, a closed-panel solution and blow-in insulation. It attaches screws, nails, clamps and membrane, mills, and cuts openings. A prefab builder buying it is buying a whole factory floor, and the line made for them does not exist yet, so there is nothing to visit.
What that buyer needs to see is the order: where timber enters, which station hands off to which, where the robots take over and what leaves at the end. A walkthrough animation gives them that route in one continuous camera path, from the stud workstation to the wall storage.
How the camera walks the ZeroLabor line, scene by scene
After the opening title the video has no captions: the camera route does the explaining. Select a time to play that scene above.
| Time | On screen | What it does |
|---|---|---|
| A yellow-toned grid of factory photos at 0:03, the Randek logo at 0:06, then the title "ZEROLABOR ROBOTIC SYSTEM" at 0:09. | Names the system before any machine appears. | |
| An aerial view of the 3D factory floor at 0:15, with a "RANDEK" sign on a panel table, then the camera flies down the line past robots and panel tables before a dark transition at 0:39. | Gives the buyer the full layout first, so every close-up has a place on the floor. | |
| Close-ups at the start of the line: stacked timber boards beside blue machines, fed onto chains and rollers into the stud workstation. | Starts where the material enters, as the description does: "from the stud workstation". | |
| Studs run through the stud workstation past a yellow saw guard marked "RANDEK" (1:06), then from 1:18 the camera rises to an overview with the "RANDEK" sign over the line. | Pulls back from 1 station to the whole line, so the viewer keeps their bearings. | |
| A yellow robot works over the framing table at 1:36 and finished frames wait at 1:39. From 1:42 robots lay boards onto wall frames moving down the line, with stacks of white and brown boards beside it. | Shows a step crews usually do by hand being done by robots. | |
| A panel with an opening cut in it lies on a blue tilt table at 2:15 and lifts at 2:21. From 2:27 2 "KUKA" robots in a fenced cell lower gripper heads onto the next frame. | Shows the ZeroLabor robot cell at a height where both robots and the panel stay in view. | |
| From 2:45 a 2nd cell: 2 robots on a rail work over a panel with an opening (2:50), then place brown boards across it until 3:15. | Shows the closed-panel step, where the wall element gets its outer layer. | |
| The finished panel moves out at 3:18, and at 3:24 a wall element with a window opening tilts up and moves into blue wall storage racks (3:30 to 3:39). The Randek logo closes at 3:42. | Ends on what the line produces, not on a machine. |
Storyboard: the frames that carry the Randek walkthrough animation
Key frames from the finished video, in order. Select a time to play that moment above.
The system is named once, before any machine appears. 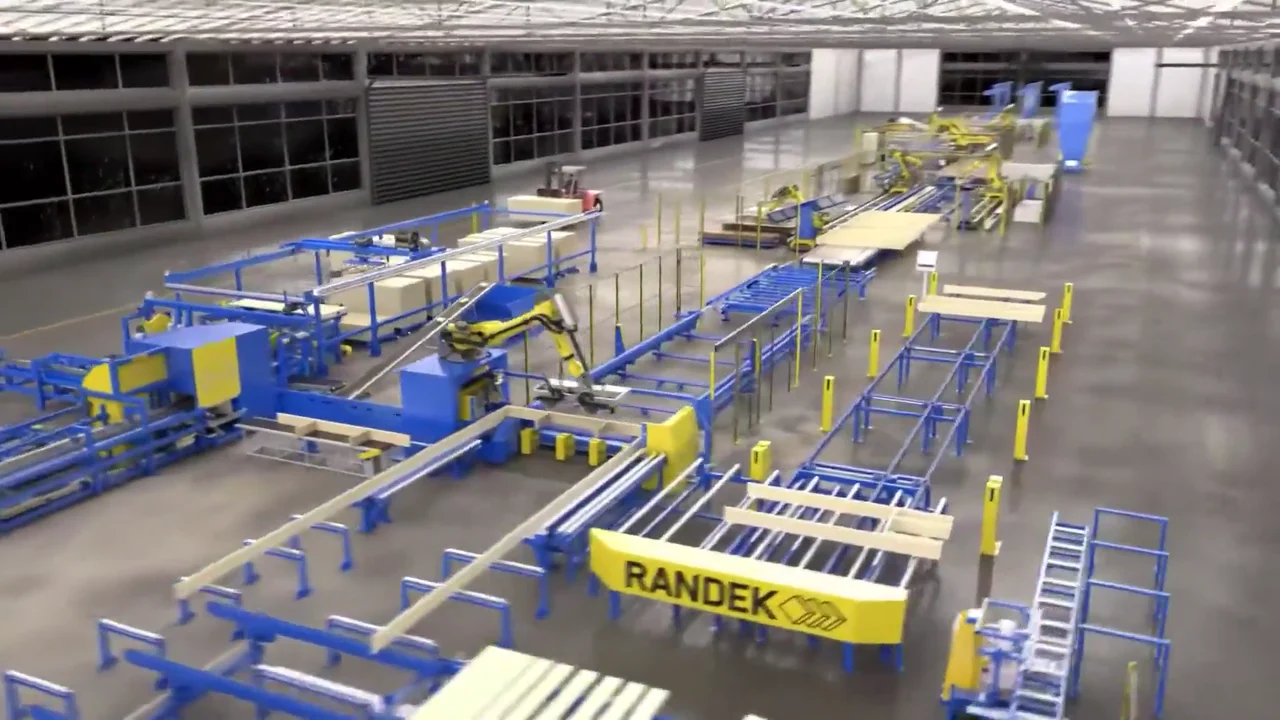
1 aerial shot gives the buyer the whole floor plan. 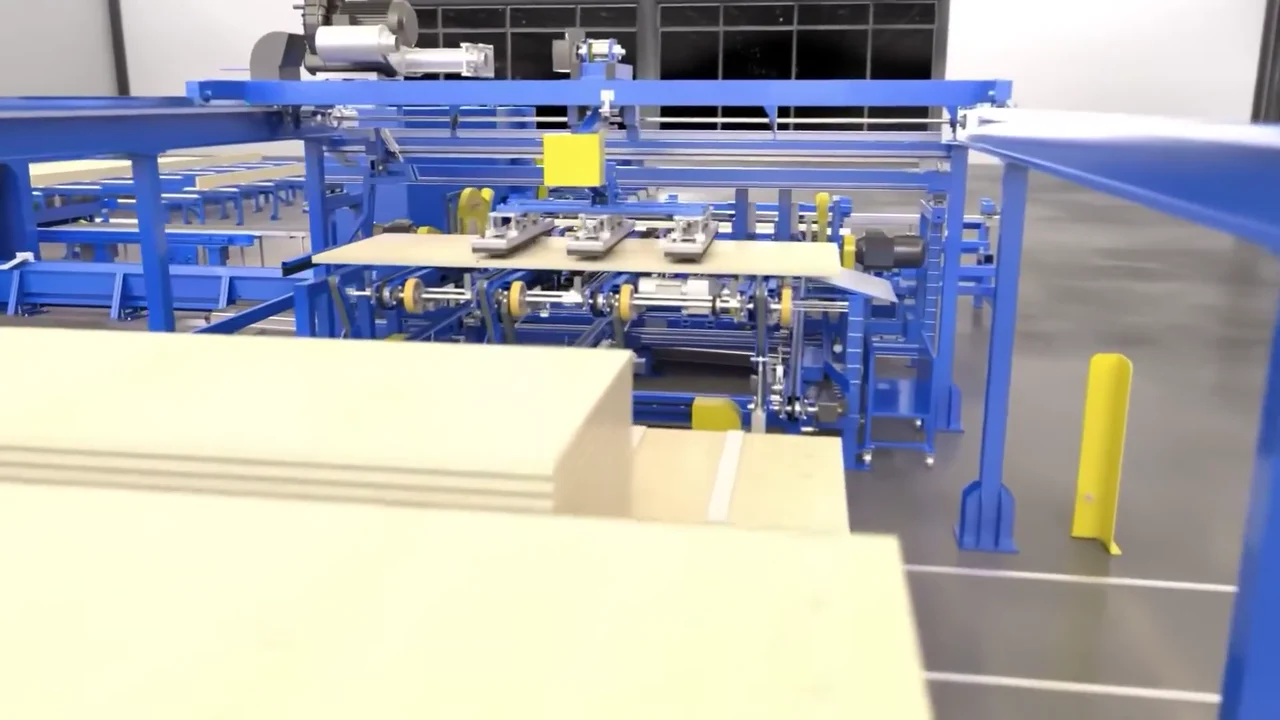
The route starts where timber enters the line. 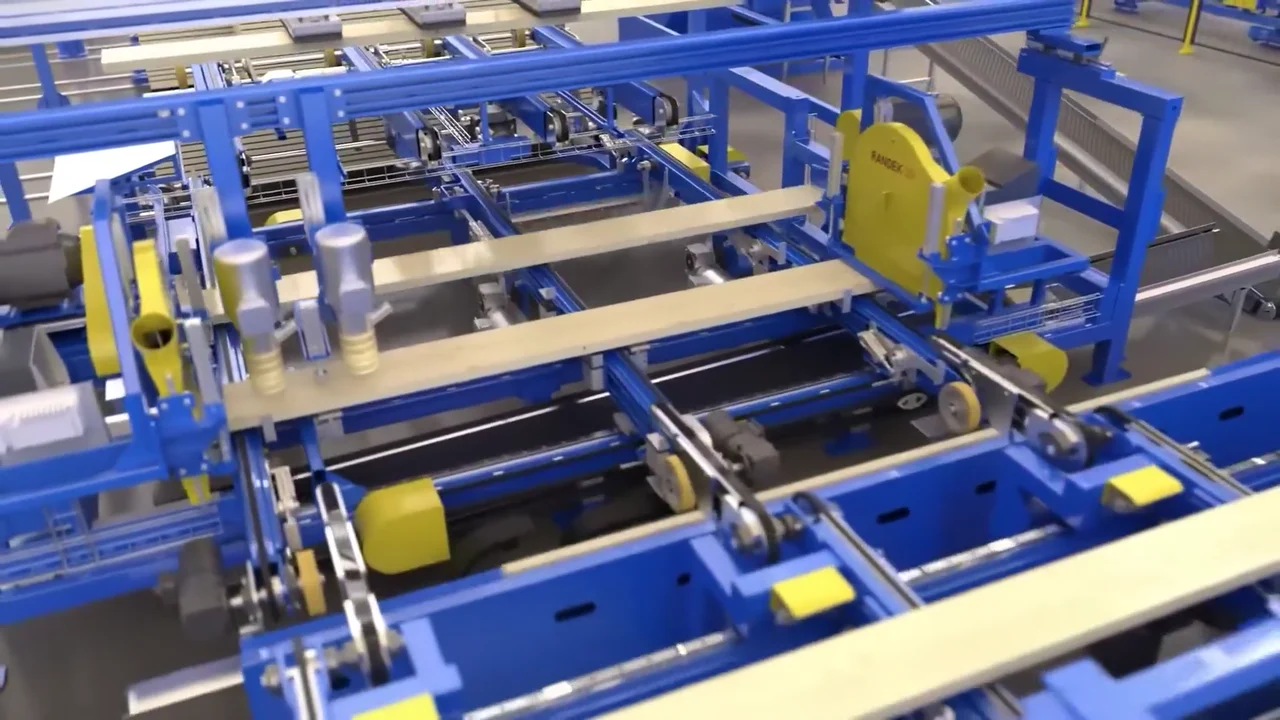
The stud workstation is shown up close before the camera moves on. 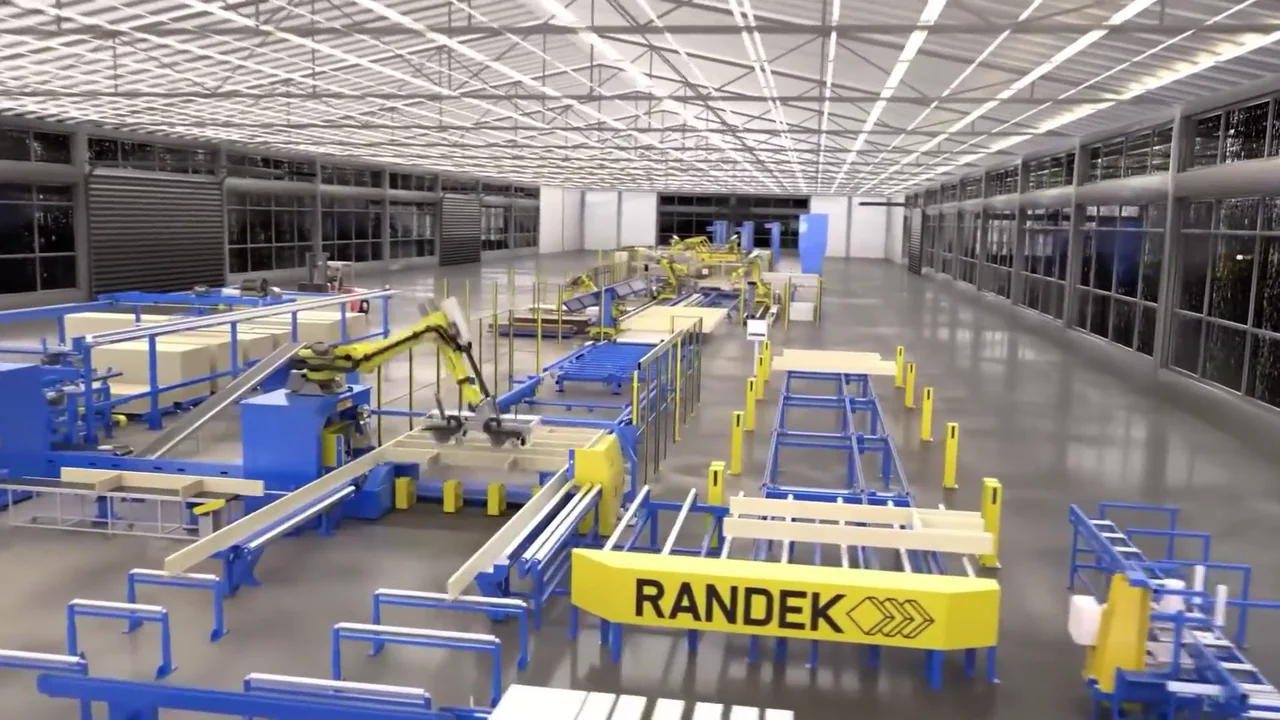
A wide shot between stations keeps the viewer oriented. 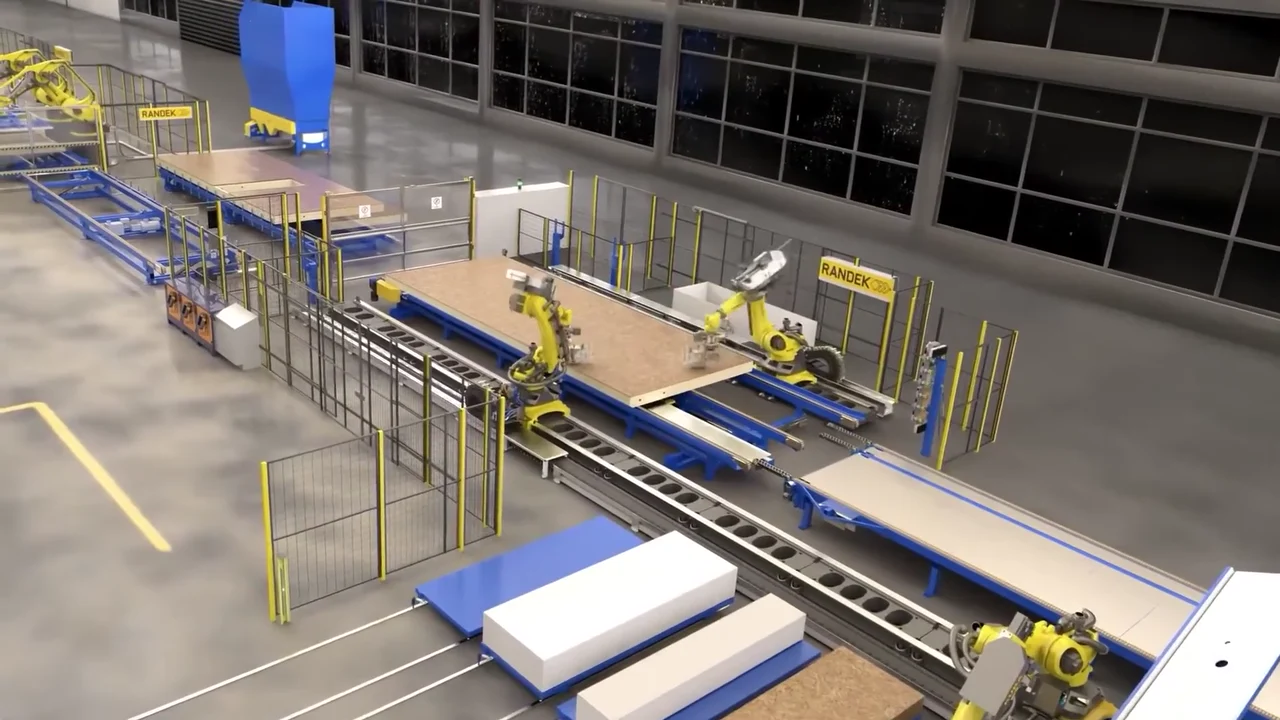
Robots take over the sheathing step. 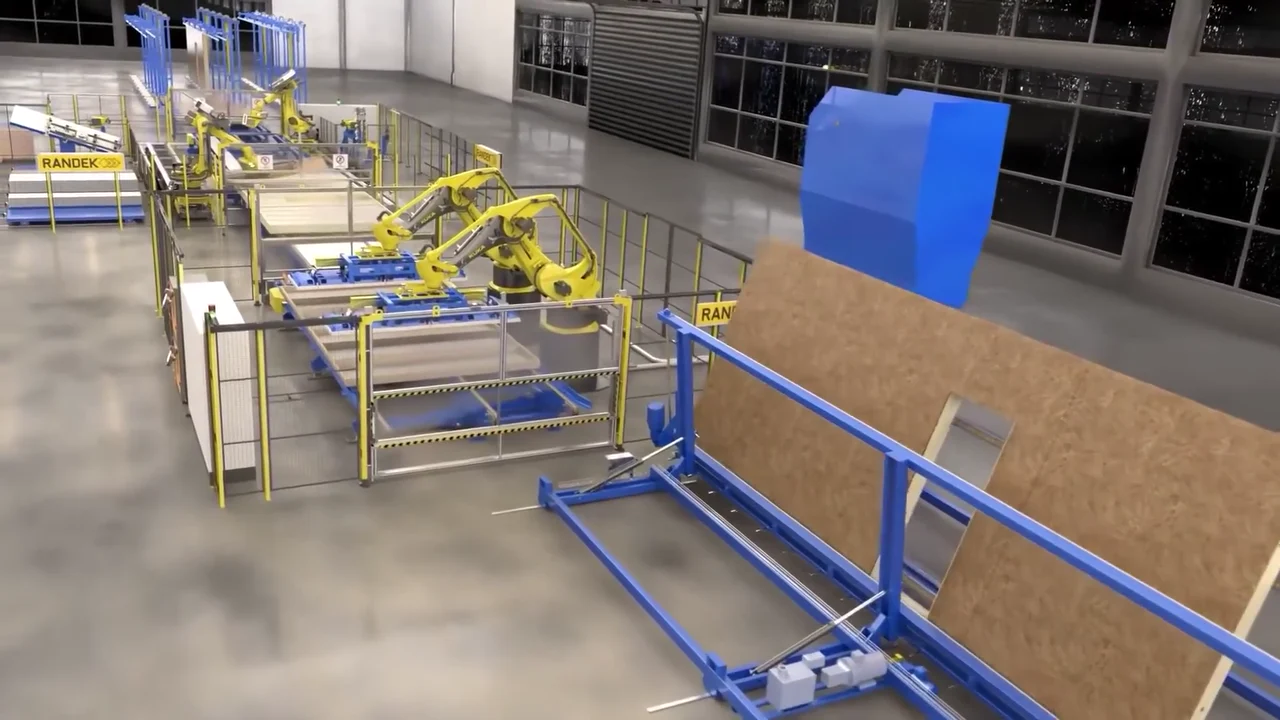
The tilt table turns a panel that already has its opening cut. 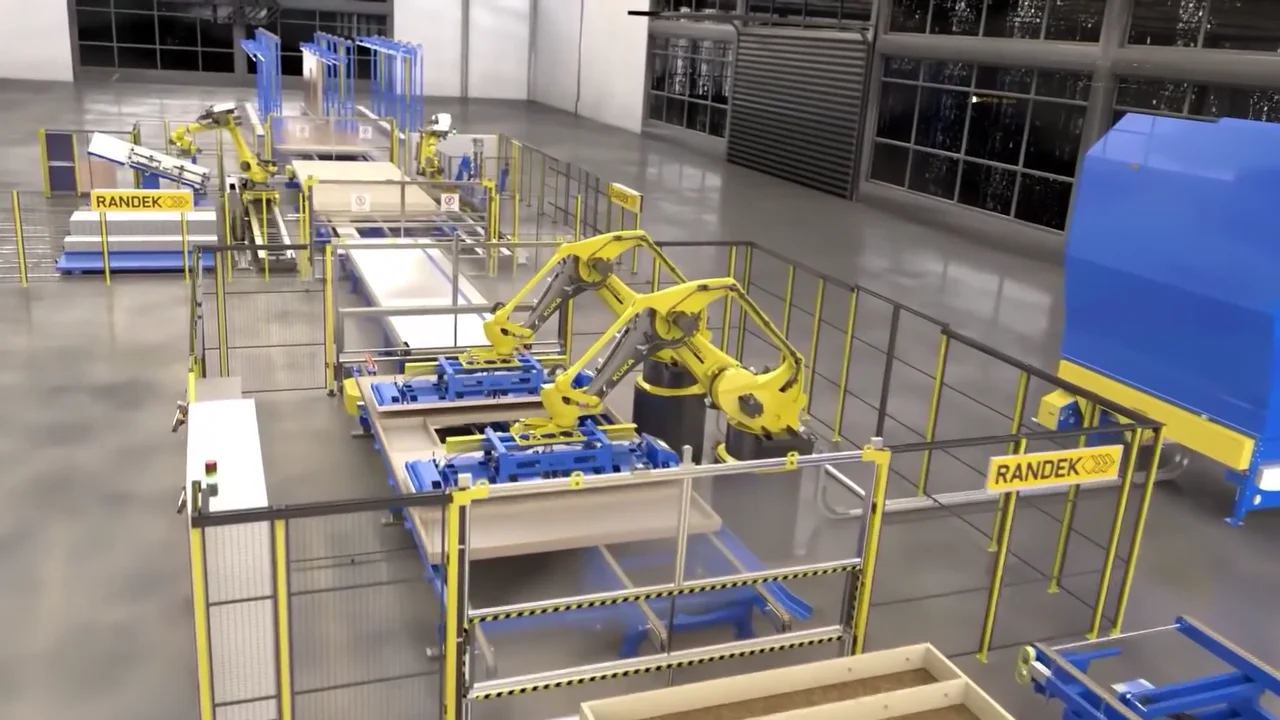
The ZeroLabor cell is framed so both robots stay in view. 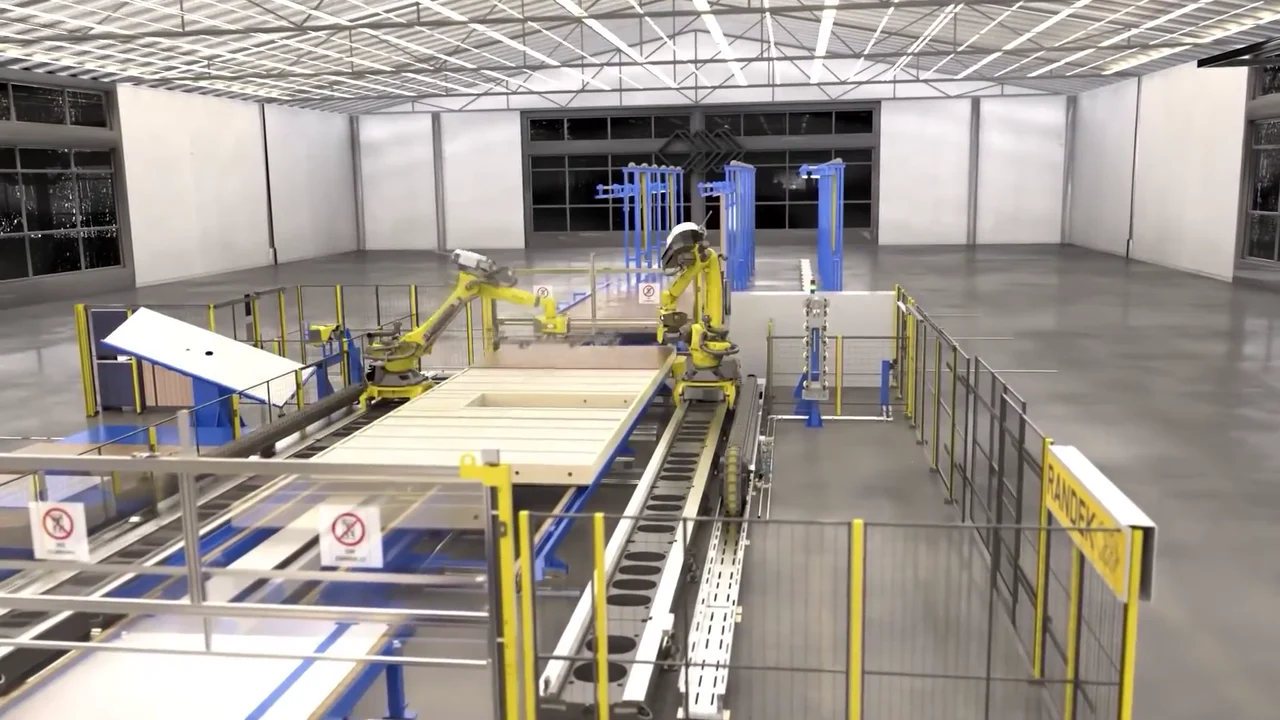
A 2nd cell closes the panel. 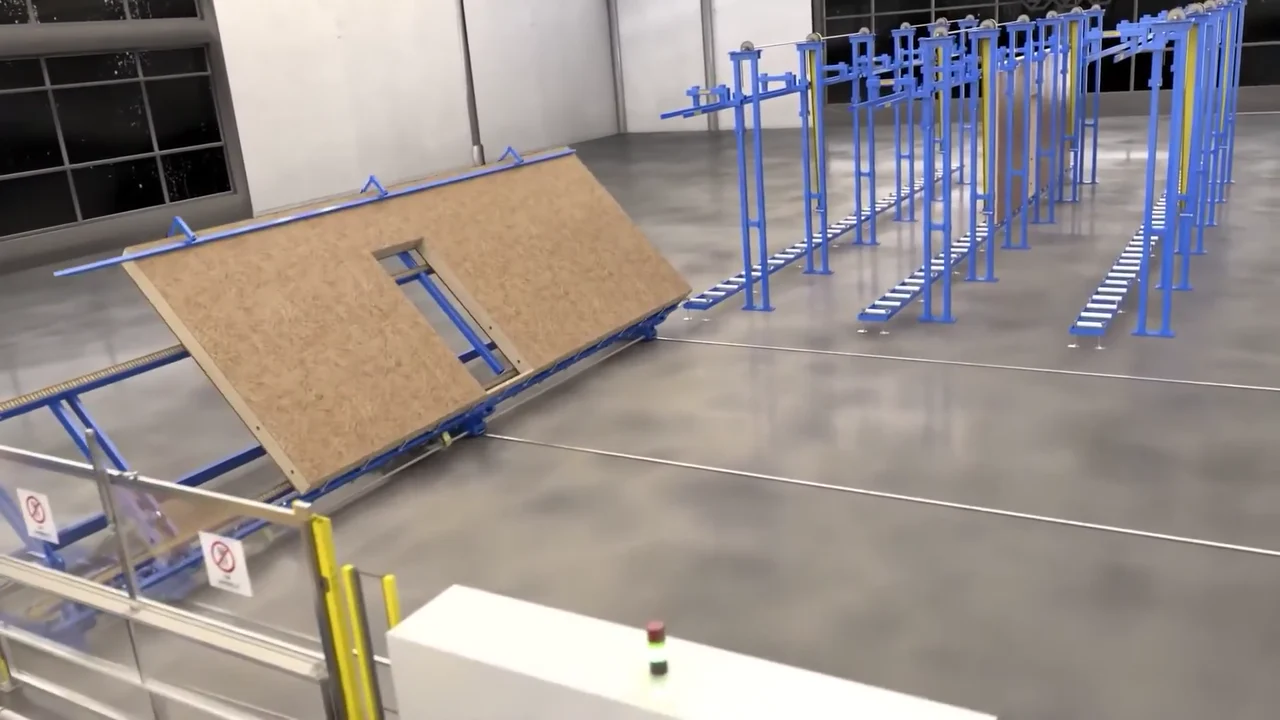
The video ends on the product the buyer will sell: a finished wall.
4 decisions behind the Randek walkthrough animation
Decision 1
Show the whole floor before any station
At 0:15, straight after the title, the camera shows the line from above. Every close-up after that sits inside a layout the viewer has already seen.
Copy it: Open a long walkthrough on one wide shot of the full layout, then go in.
Decision 2
Follow the timber, not the machine list
The route runs in production order: timber at the stud workstation from 0:42, sheathing robots at 1:42, the tilt table and robot cell at 2:21, wall storage at 3:24. It matches the description's "from the stud workstation to the wall storage".
Copy it: Order your scenes by what passes through the product, not by your catalog.
Decision 3
Pull back between stations
At 1:18 the camera rises from the stud workstation to an overview with the "RANDEK" sign, and holds it until 1:33 before moving on to the robots.
Copy it: In any walkthrough over 2 minutes, put a wide shot between close-ups so viewers never lose their place.
Decision 4
End on the finished wall
At 3:24 a wall element with a window opening tilts up and goes to storage. The last thing the buyer sees is what they will sell.
Copy it: Close on your customer's output, not on your hardware.
From Randek CAD files to a 3D factory walkthrough
- CAD conversion. Randek's equipment files were converted into 3D models: conveyors, stud workstation, robot cells, tilt table and storage racks.
- Factory layout. Every station was placed on one factory floor in production order, so the camera could travel from one station to the next.
- Camera route. One route was planned from the aerial overview down the line to wall storage, with wide shots between the close-ups.
- Materials and light. Timber, boards, blue steel and yellow safety rails were textured and lit so each station reads from a distance.
- Animation. Timber feed, framing, board placement, the tilt table, the 2 robot cells and the move to storage were animated in sequence.
- Render, brand cards and sound. Shots were rendered and composited with Randek's yellow title and logo cards, then sound design and the final edit were added.
Scope of work:
Production took 3 to 4 weeks on a budget of $1,200 to $2,000. See the 3D video production service for how a project like this is scoped.
Questions about the Randek walkthrough animation
Why does the Randek walkthrough animation open on an aerial view of the factory?
At 0:15, right after the "ZEROLABOR ROBOTIC SYSTEM" title, the camera shows the line from above. A buyer sees the whole floor once, then each close-up that follows has a known place.
In what order does the video show the AutoWall line?
In production order: timber at the stud workstation (0:42), studs and framing (1:06 to 1:39), robots laying boards (1:42), the tilt table and robot cell (2:21), a 2nd robot cell (2:45) and wall storage (3:24). That is the route the YouTube description names: "from the stud workstation to the wall storage".
How does the video show the ZeroLabor robots at work?
From 1:42 yellow robots lay boards onto frames. From 2:27 2 "KUKA" robots lower gripper heads onto a frame in a fenced cell, with the camera high enough to keep both robots and the panel in 1 shot. From 2:45 2 more robots on a rail close the next panel.
Why does the video end on a finished wall with a window opening?
The description lists "mill, and cut openings" among the line's jobs. At 3:24 a wall element with its opening already cut tilts up and moves into storage, so the video closes on the line's output.
Why is there almost no on-screen text?
The only title is "ZEROLABOR ROBOTIC SYSTEM" at 0:09, plus the "RANDEK" signs built into the 3D line. The spec list lives in the YouTube description, so the video can stay on the machines.
What did the Randek walkthrough take to produce?
CAD conversion, 3D modeling, texturing, lighting, animation, rendering, compositing, visual effects, sound design and a final edit. Production took 3 to 4 weeks on a budget of $1,200 to $2,000.
What Advids clients say
"We had a great experience working with the Advids team... Their process was straightforward and they were able to capture our ideas and translate it into a quality final product."Omar Romero, Founder at ROSE IT Services


Selling a machine line your buyer can't visit yet?
Talk to Advids